Sunday, October 28, 2012

My B-day Celebration With The Girls

This past Saturday we celebrated my birthday with my sisters and good friend Ruby.  It was a fabulous day and one that I'll remember forever (warning, this is a long post with lots of pictures)! My good friend Lois taught us a wonderful class on Hand Sculptures.
The picture above is our finished project. I just love how they turned out...each with its own personality. The pictures below show how we started. Lois was gracious enough to sew, stuff and stain the hands for us - that saved us so much time.
By the way, the theme of the party was black and white. Below is a picture of Lois, myself and my sister Pat.
Here we are hard at work on our hand sculptures. 
Lois also pre-sewed the hearts and made many face transfers for us...it was great to have all of this ready for us to use. We got to focus on the fun stuff - embellishing! The picture below is the one I was working on.
Below is a picture of all of us and our hand sculptures. It was such a fun project to make. Lois was a fantastic teacher, so patient, organized and generous!
Next, I have to show you pictures of how my sisters decorated the house...it was great, I just loved it all!
My sister Pat made the banner.
My sister Diana made these cups.
My sister Frances made this 5 tier paper box cake.
Maryl brought these beautiful white roses.
 Below, is how great the room looked all decorated.
Diana made these black bottom cup cakes.
The food was all my favorites and all so delicious and love that black candelabra.
My daughter even dressed in theme with us.
My sister Diana & Frances and friend Ruby.
I just love the polka dot plates.
Our dessert buffet - YUM!
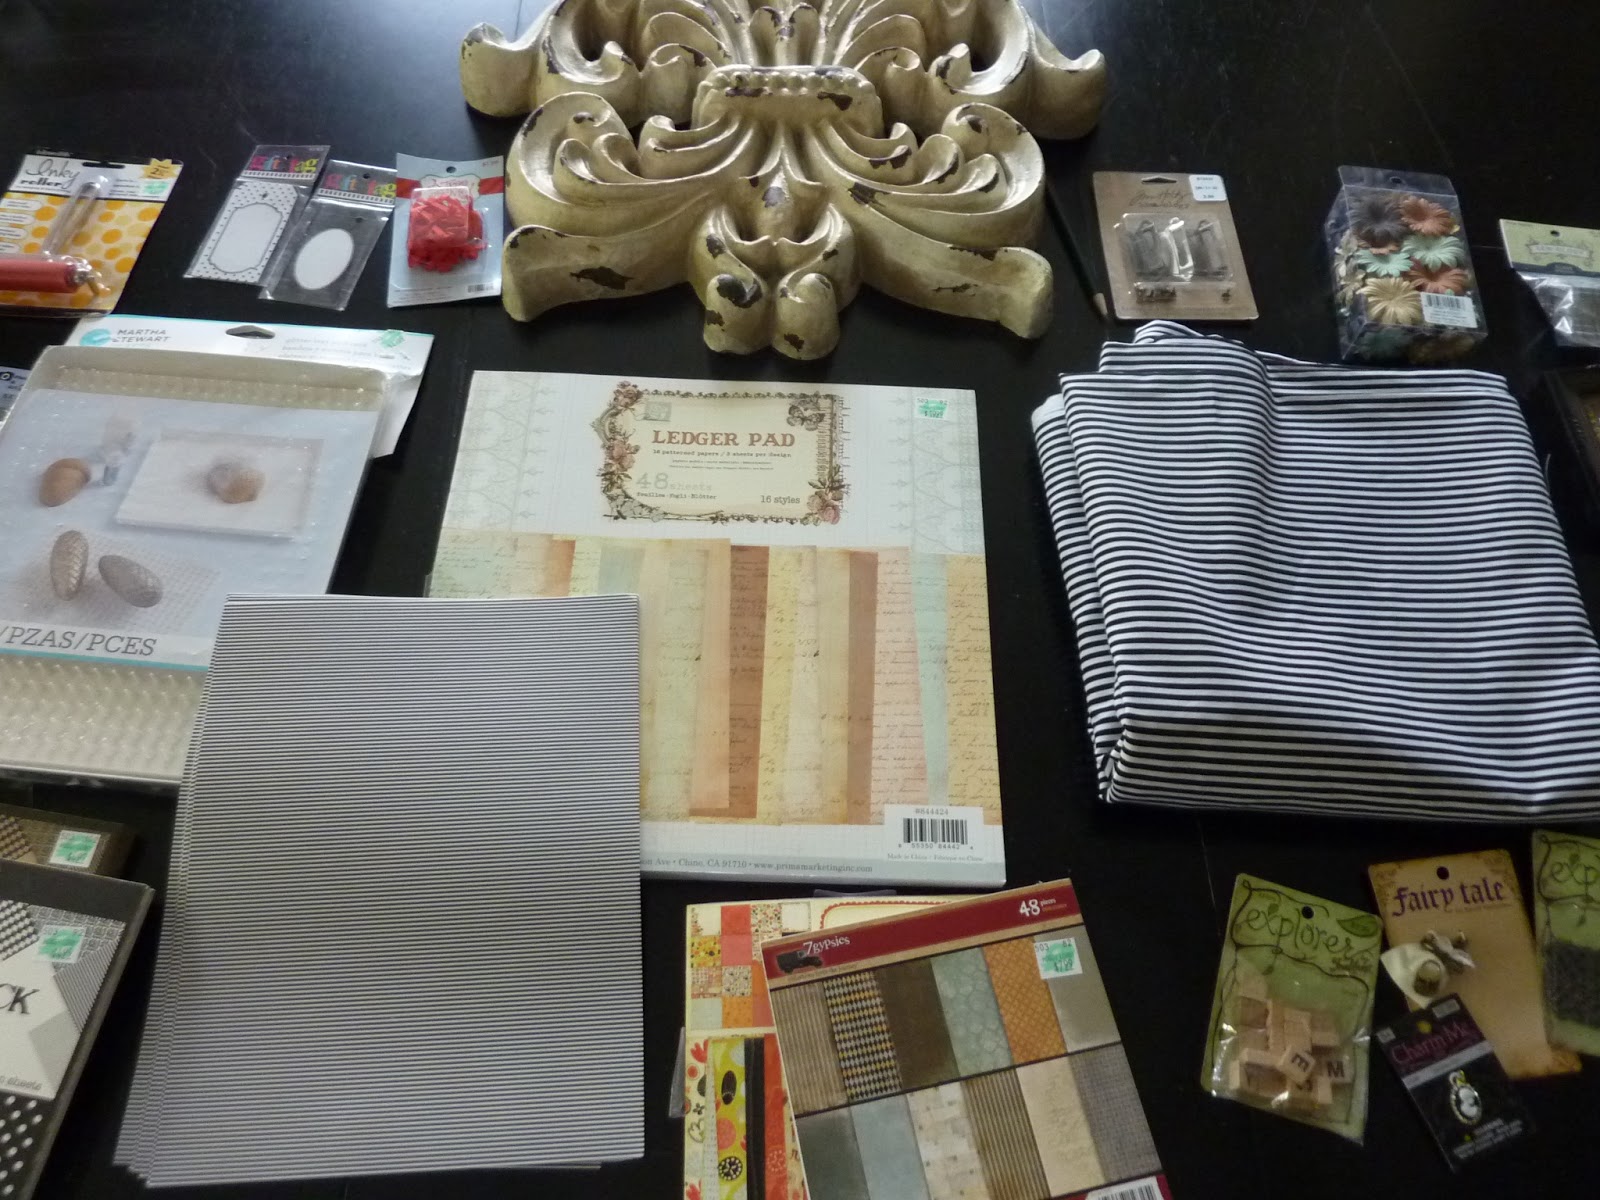
I received some wonderful gifts from everyone.
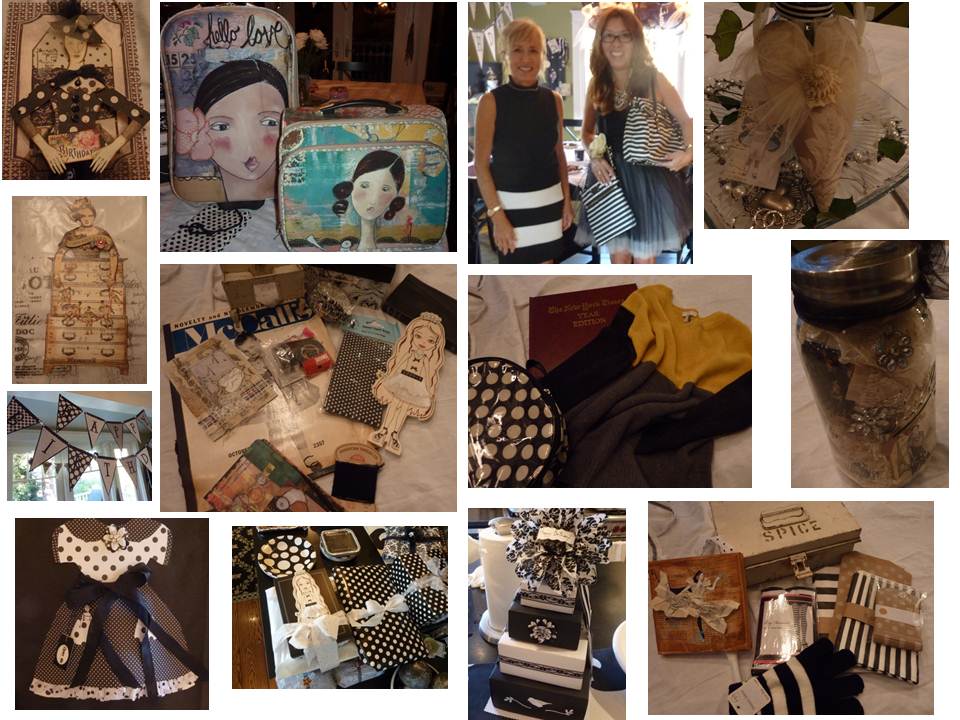
Beautiful hand made cards, Kelly Rae luggage, Kate Spade purses, jar of goodies, vintage items, lots of black and white supplies and accessories and hand made heart.
I also made goodie bags for my guest - of course black and white themed.
It was a great birthday celebration. Unfortunately, my sister Lana is in France and was unable to attend...but I'm sure she's having a great time as well.

The day wasn't over after the party. Nate Burkus was on a book signing tour and was just a few blocks away, so several of us went to see him.
I really enjoy watching his show, he has such great ideas, he's entertaining and so adorable.
Here's his book that he was promoting that night...this is his second book.
We came back to the house and caught the 9th inning of the Giants winning. What a way to end a perfect day...I didn't want the day to end! 

Thank you to Lois, my sisters and Ruby for making this one special birthday for me - everything was perfect! I love you all and feel so blessed to have such wonderful people in my life!

Friday, October 26, 2012

Paper Bows

Hey everyone - just a short post for today...

While spending too much time on Pinterest, I found a picture of origami bows. I just had to try making them. I used dictionary, music, journal and black and white striped papers.
They're fun to make and you don't need double sided paper. You can google origami bows for many examples and instructions. This is the tutorial I used: http://helenmade.blogspot.com/2011/08/paper-bow-tutorial.html.  Try it - you'll be happy with the results :-).

Monday, October 22, 2012

Road Trip to Hobby Lobby

This weekend I did a road trip to Morgan Hill to go to the new Hobby Lobby store. It's a little over an hour from my house - but this is the closest one to me. The store just opened in August. I've been to a Hobby Lobby once before, in Modesto and couldn't wait to check this one out too! Both stores are about the same size - HUGE!
We got there when it opened - 9am.
Me, my daughter Rachel and my sister Diana
Below is a picture of the store just as you walk in. I'd say it's about three times the size of a Michael's.
You can't even see the end of the store from one end. They have everything you can imagine that is craft related and they also have a large home accessories section.
We basically had the store to ourselves for the first hour. The store has big wide aisles.
My sister Maryl with some pink ostrich feathers
Rachel loved this section - chevrons on everything.
They carry this cool brand called Sew-Ology. Just love the packaging.
 
Below are pictures from their furniture section.
Love these book boxes...
 
We spent two hours in this store and we each walked out with a cart load of goodies. There were definitely things there I've never seen before. Favorite finds included: black and white wrapping paper, vintage ledger 12 x 12 scrapbook pad, some great 6x6 scrapbook pads, black and white striped fabric (which is so hard to find), metal findings and wall hanging. Many of the sections were 50% off!
As you can see, I'm really into black and white now.
Nearby were also fun places to shop: antique stores, clothing boutiques, TJ Maxx and Target. So needless to say we were all shopped out by the afternoon. What a fun outing we had - we're going to make this a semi-annual event!

Go Giants!

Friday, October 19, 2012

Polymer Clay Mini Books

I love the look of stamping on metal; however, it can be very difficult to do. So instead, I decided to try out a different technique to achieve the same look. I made these mini books that have a cover made with polymer clay.
Here's how it started: I used black Scupley clay and some metal lower-case Sparrow stamps from Melody Ross.
I molded the clay into various shapes which would eventually be the covers of the books. I then stamped the clay with the metal letters and made some holes with a needle on the left to use to put jump rings through later. Next step was to bake the clay pieces in the oven for 15 minutes at 275 degrees.
Once the clay pieces were baked, I applied some silver and gold Rub 'n Buff finish to them. Now the words really stand out and you can see why I use black clay.
The next step was to add eyelets to the holes. I didn't plan this in advance, so the holes were a bit small to fit the standard size small eyelet. Luckily the clay was still pliable, so using the Crop-A-Dile I was able to easily insert the eyelets into the holes. Then I embellished the clay with paper, washi tape, vintage photos, shrink plastic, charms, ribbon and white ink.
For the inside pages, I just used some of my scrap papers and cut them into the size of the book covers.
I'm not sure what I'll do with them, but they make cute little charms to add to something!

Below is a picture of what the gold and silver Rub 'n Buff looks like, which is on top of my Daily Journal. It's hard to believe, but I'm still keeping up with the journal...every week I make a paper doll to add to it. This is the one I created for next week. I used a new stamp from Pam Carriker.
Once the year is over, I'm thinking of scanning all my paper dolls and making them available digitally - if people are interested. Have a nice weekend!