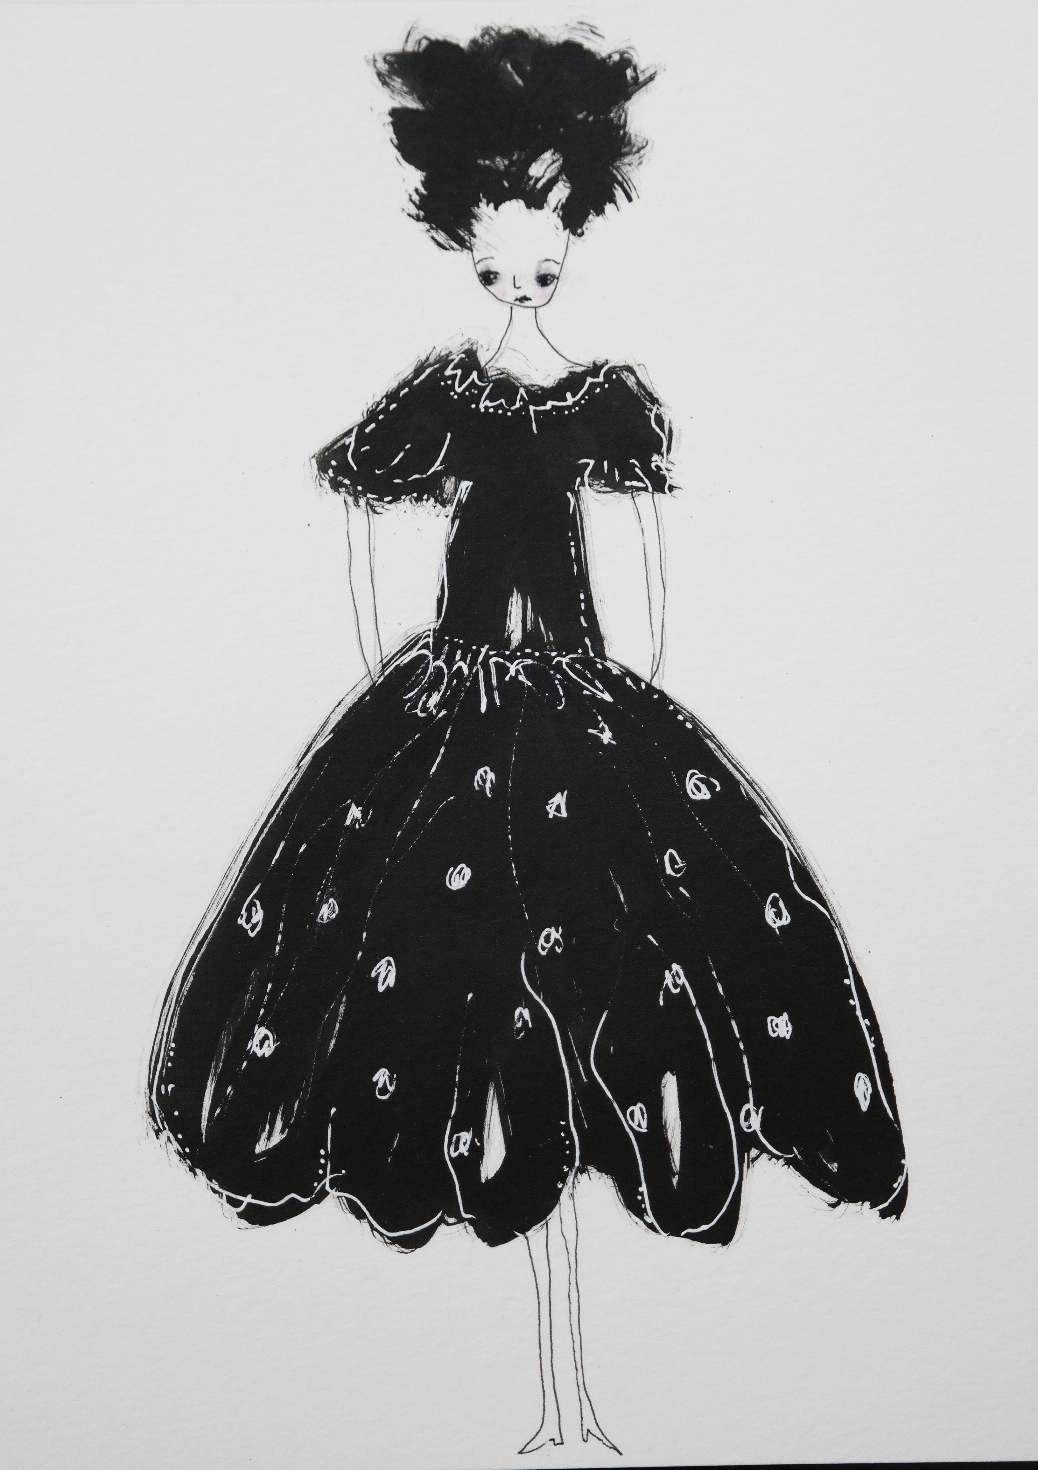
I'm still into making these whimsical collage dolls, totally inspired by my favorite artists, Christina Romeo, Mindy Lacefield and Roben Marie Smith. I decided to fill up my latest shopping bag art journal with my new dolls. Take a look.
 I really enjoy adding the pop of color with tissue paper.
 It's such a fun way to use up my scrap paper and be totally free with dressing the dolls.
 I hope to scan each page, so that I can make these into greeting cards or tags.
 I really liked using the 2014 black chalk board style calendar for some of my pages. You can see more of that in my previous post. If you go to Paper Source, you can buy the 2016 black chalk style calendars really cheap now.
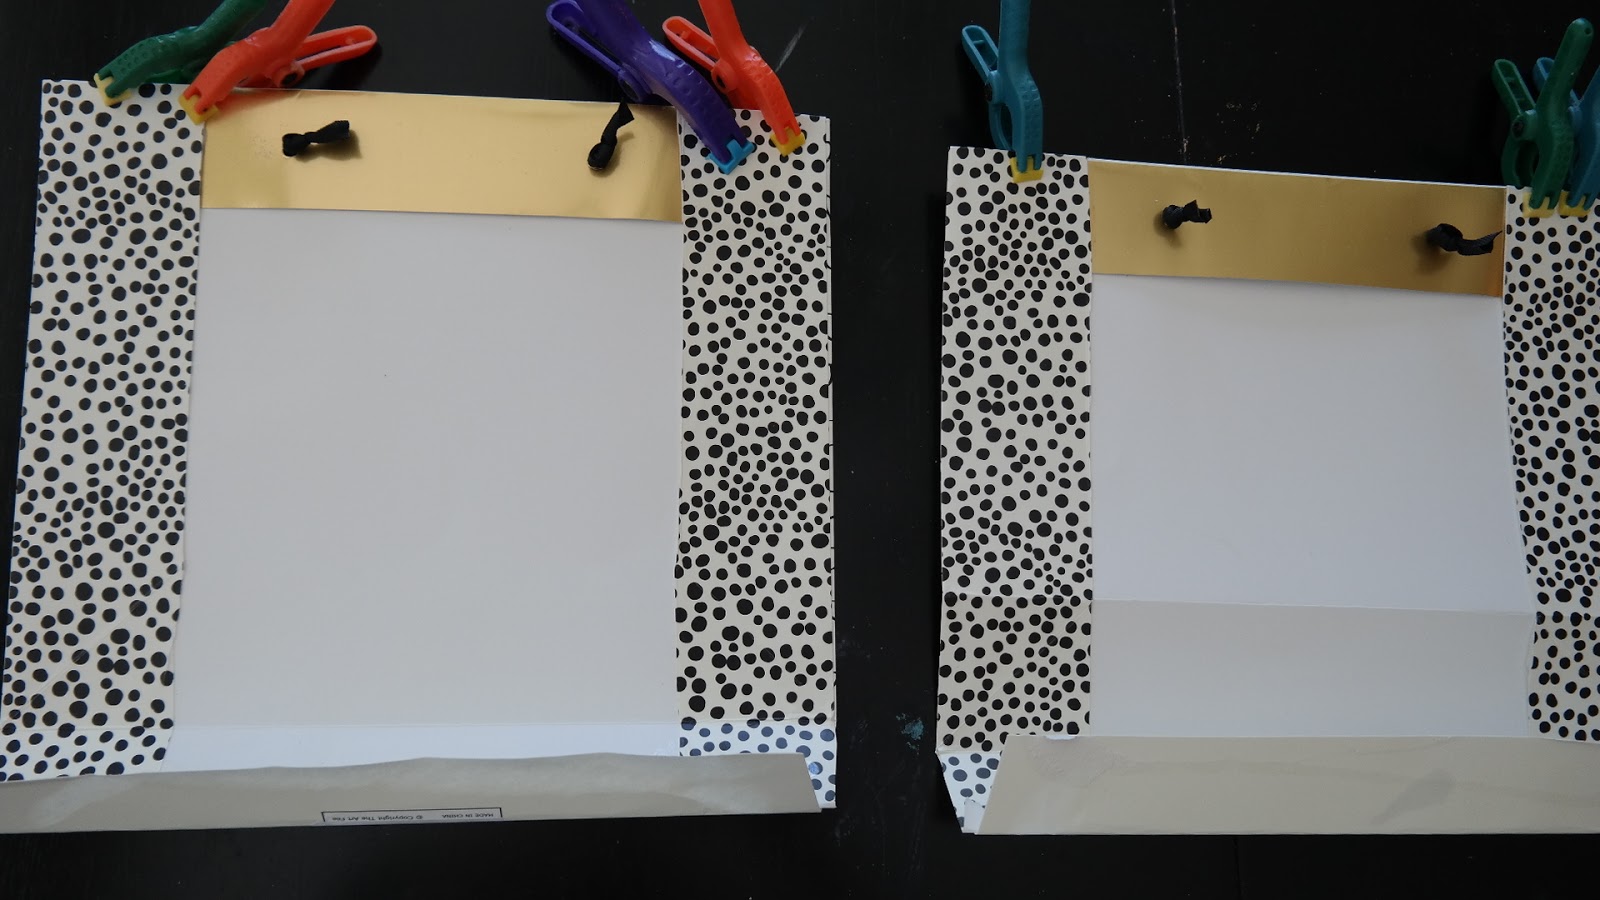
 I also love using the black polka dot tissue paper.
 I try to leave some white space on each page where I can later stamp sentiments, such as "Happy Birthday" for cards.
 Now, I really want to name these whimsical dolls, but can't think of anything clever. My other dolls are called "Paige", but these style of dolls need a new name...any suggestions?
Do you remember I made a very small art journal? I'm also going to fill one of them up with my whimsical dolls. I just started page 1.

 As you can see above, my mini art journal is about 1/16th the size of my shopping bag journal...so mini!
Have a great week!


Do you remember I made a very small art journal? I'm also going to fill one of them up with my whimsical dolls. I just started page 1.

You would think since it's so small, it would be faster to create, but not so. It's really hard to glue down itsy bitsy pieces of paper and tissue, but it's worth the effort!

Have a great week!